For enterprise SSO, data residency, audit logs, and compliance certifications, see Security & Trust or visit our Trust Center. DataGenie supports common enterprise identity providers (Okta, Azure AD / Entra ID, Google Workspace, OneLogin).
New user: SSO login flow
SSO is available for enterprise workspaces. When SSO is enabled, users log in with their organization’s identity provider credentials — no separate DataGenie password required.
Open the DataGenie login page
Open your browser and navigate to your organization’s DataGenie URL. The login page loads with options for SSO and manual login — SSO users should proceed with their organization’s identity provider.
Select your SSO provider
On the login screen, click your company’s SSO button. Your organization’s secure identity provider interface appears, ready to authenticate you with your work credentials.
Enter your SSO credentials
Enter your organization username and password in the SSO provider’s login form. Once authenticated, you’ll be automatically redirected back to DataGenie with your session established.
Note the No Access state on first login
First-time users land on a No Access screen after logging in — this is intentional. DataGenie grants no dataset access by default, preventing unauthorized data exposure in the window between account creation and role assignment. A Global Admin must grant access before you can use the platform.
Admin: Grant access to a new user
Sign in as Global Admin and open Configuration
A Global Admin logs into DataGenie with their credentials, then navigates to Configuration from the sidebar. The Configuration section contains all user management and workspace administration options.
Navigate to Users & Mappings
In the Configuration panel, click Users & Mappings. The user management table appears, displaying all current platform users and their assigned roles — this is where you’ll find or add the new user.
Search for the new user
Use the search bar to locate the user who just signed in. Enter their name or email to find their entry in the list — they should appear automatically if they successfully authenticated via SSO.
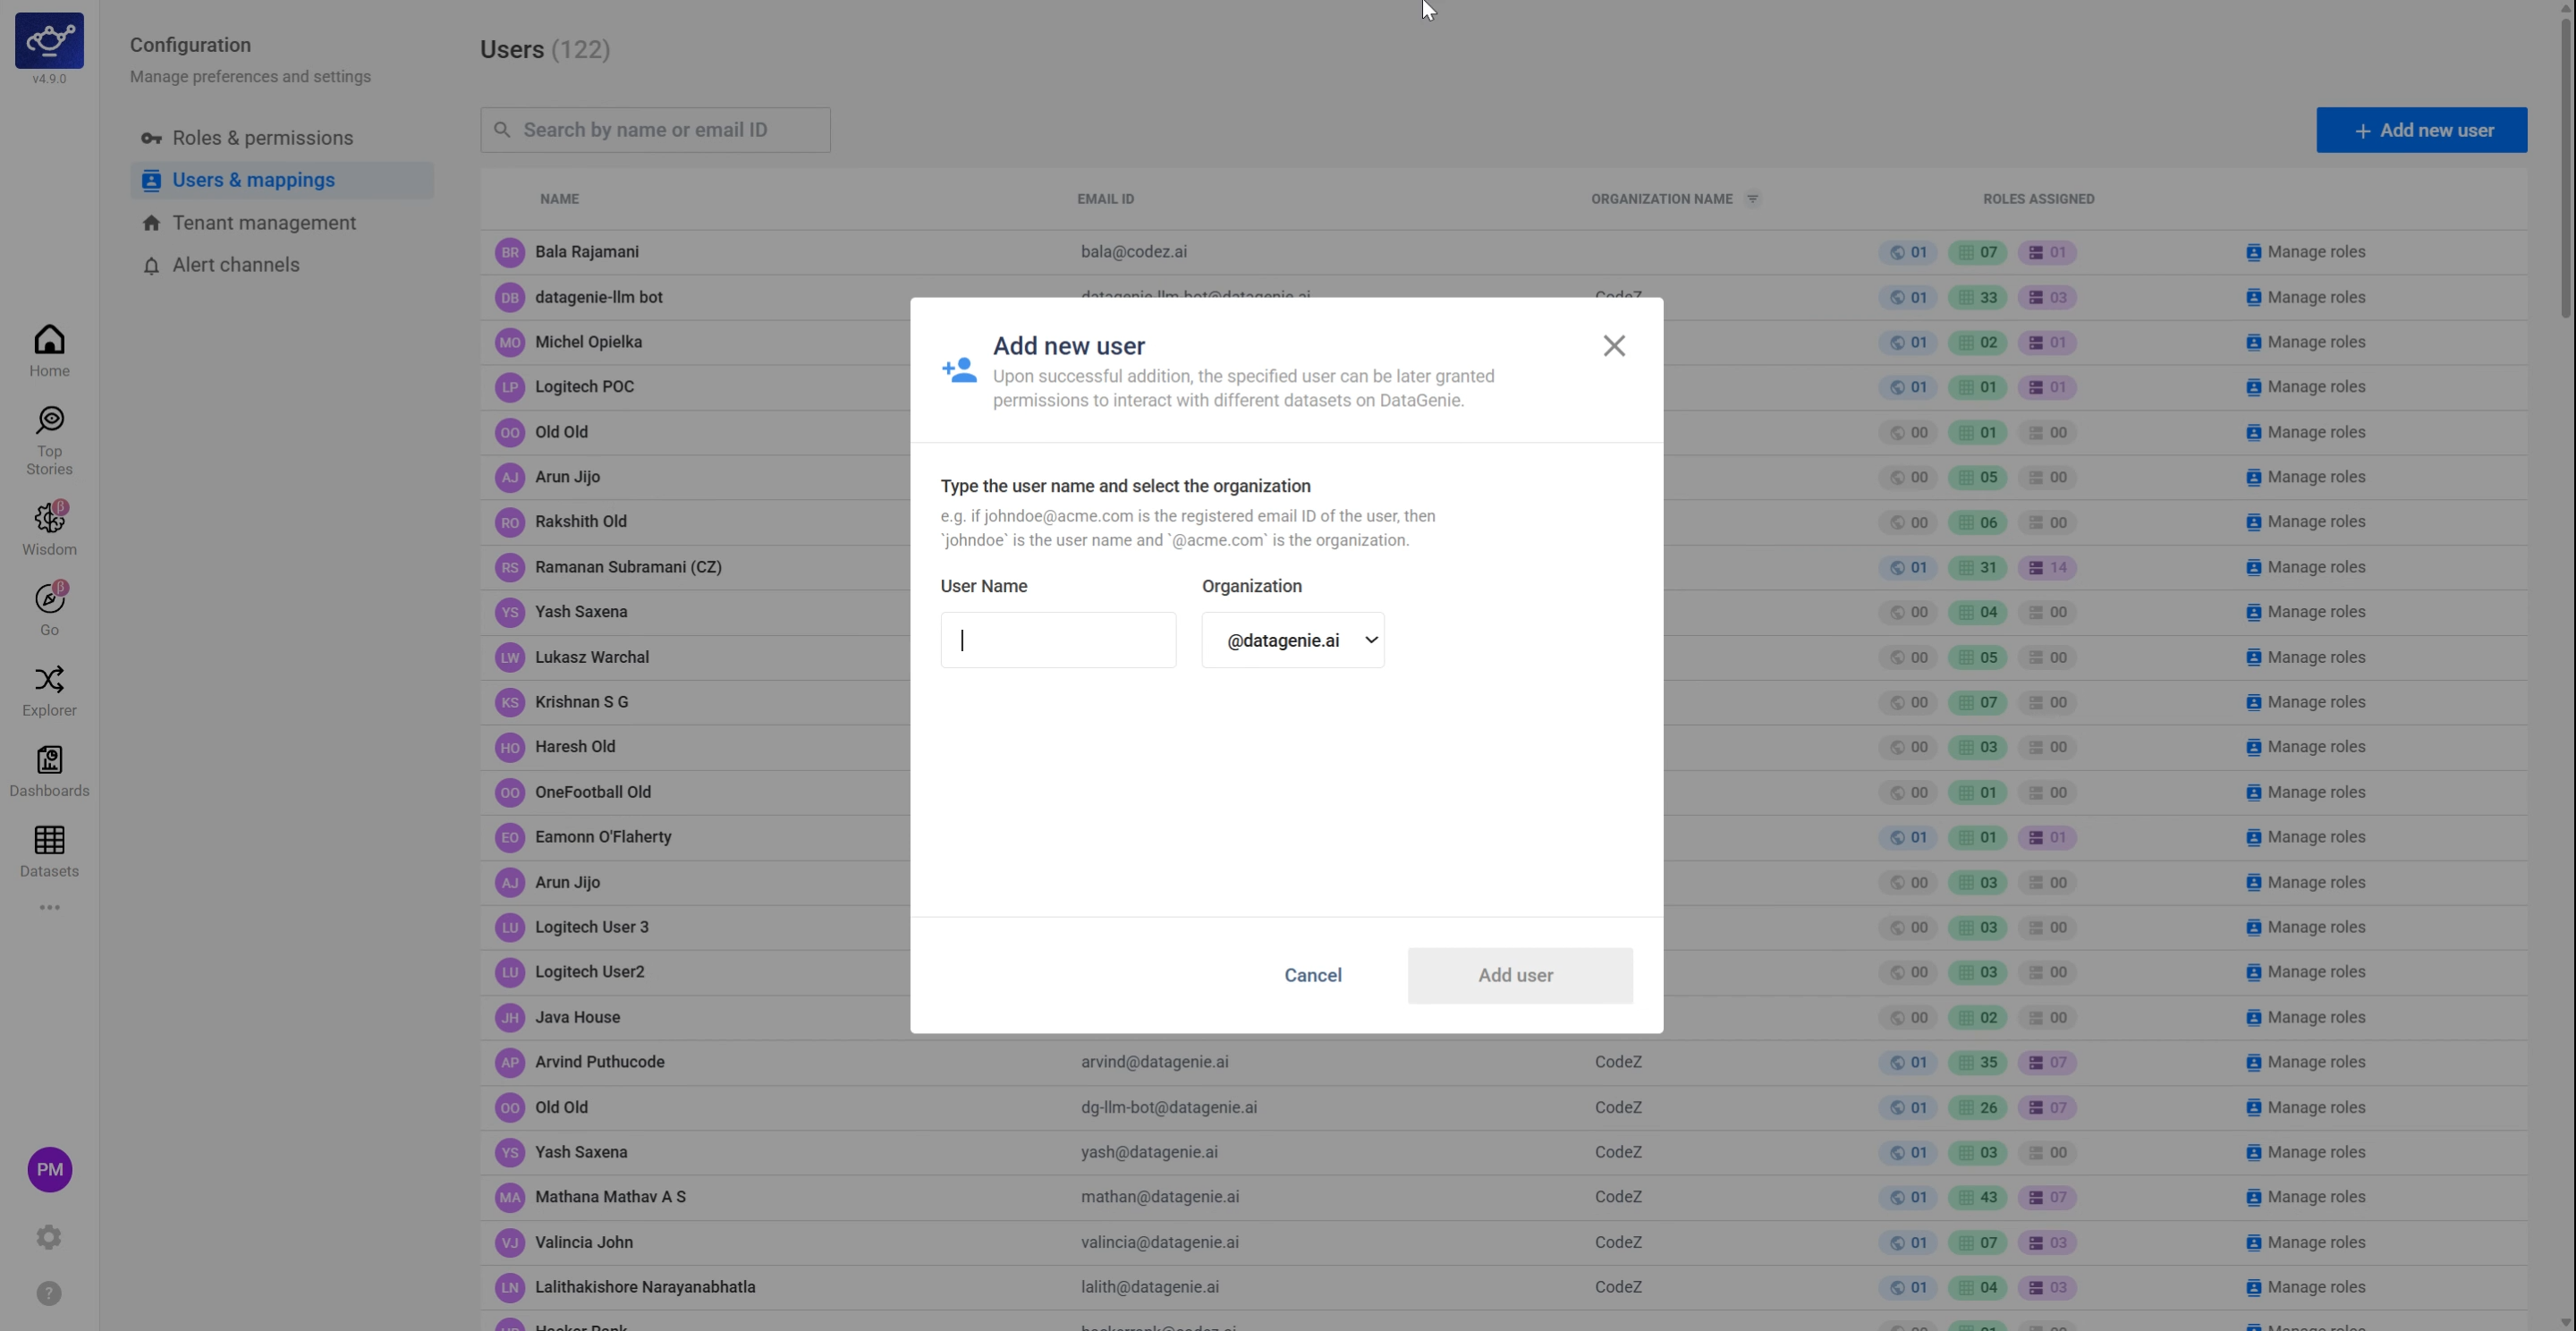
Add the user manually if they are not in the list
If the user doesn’t appear, click Add User. Enter their email address and details in the dialog to manually create their account and proceed to role assignment.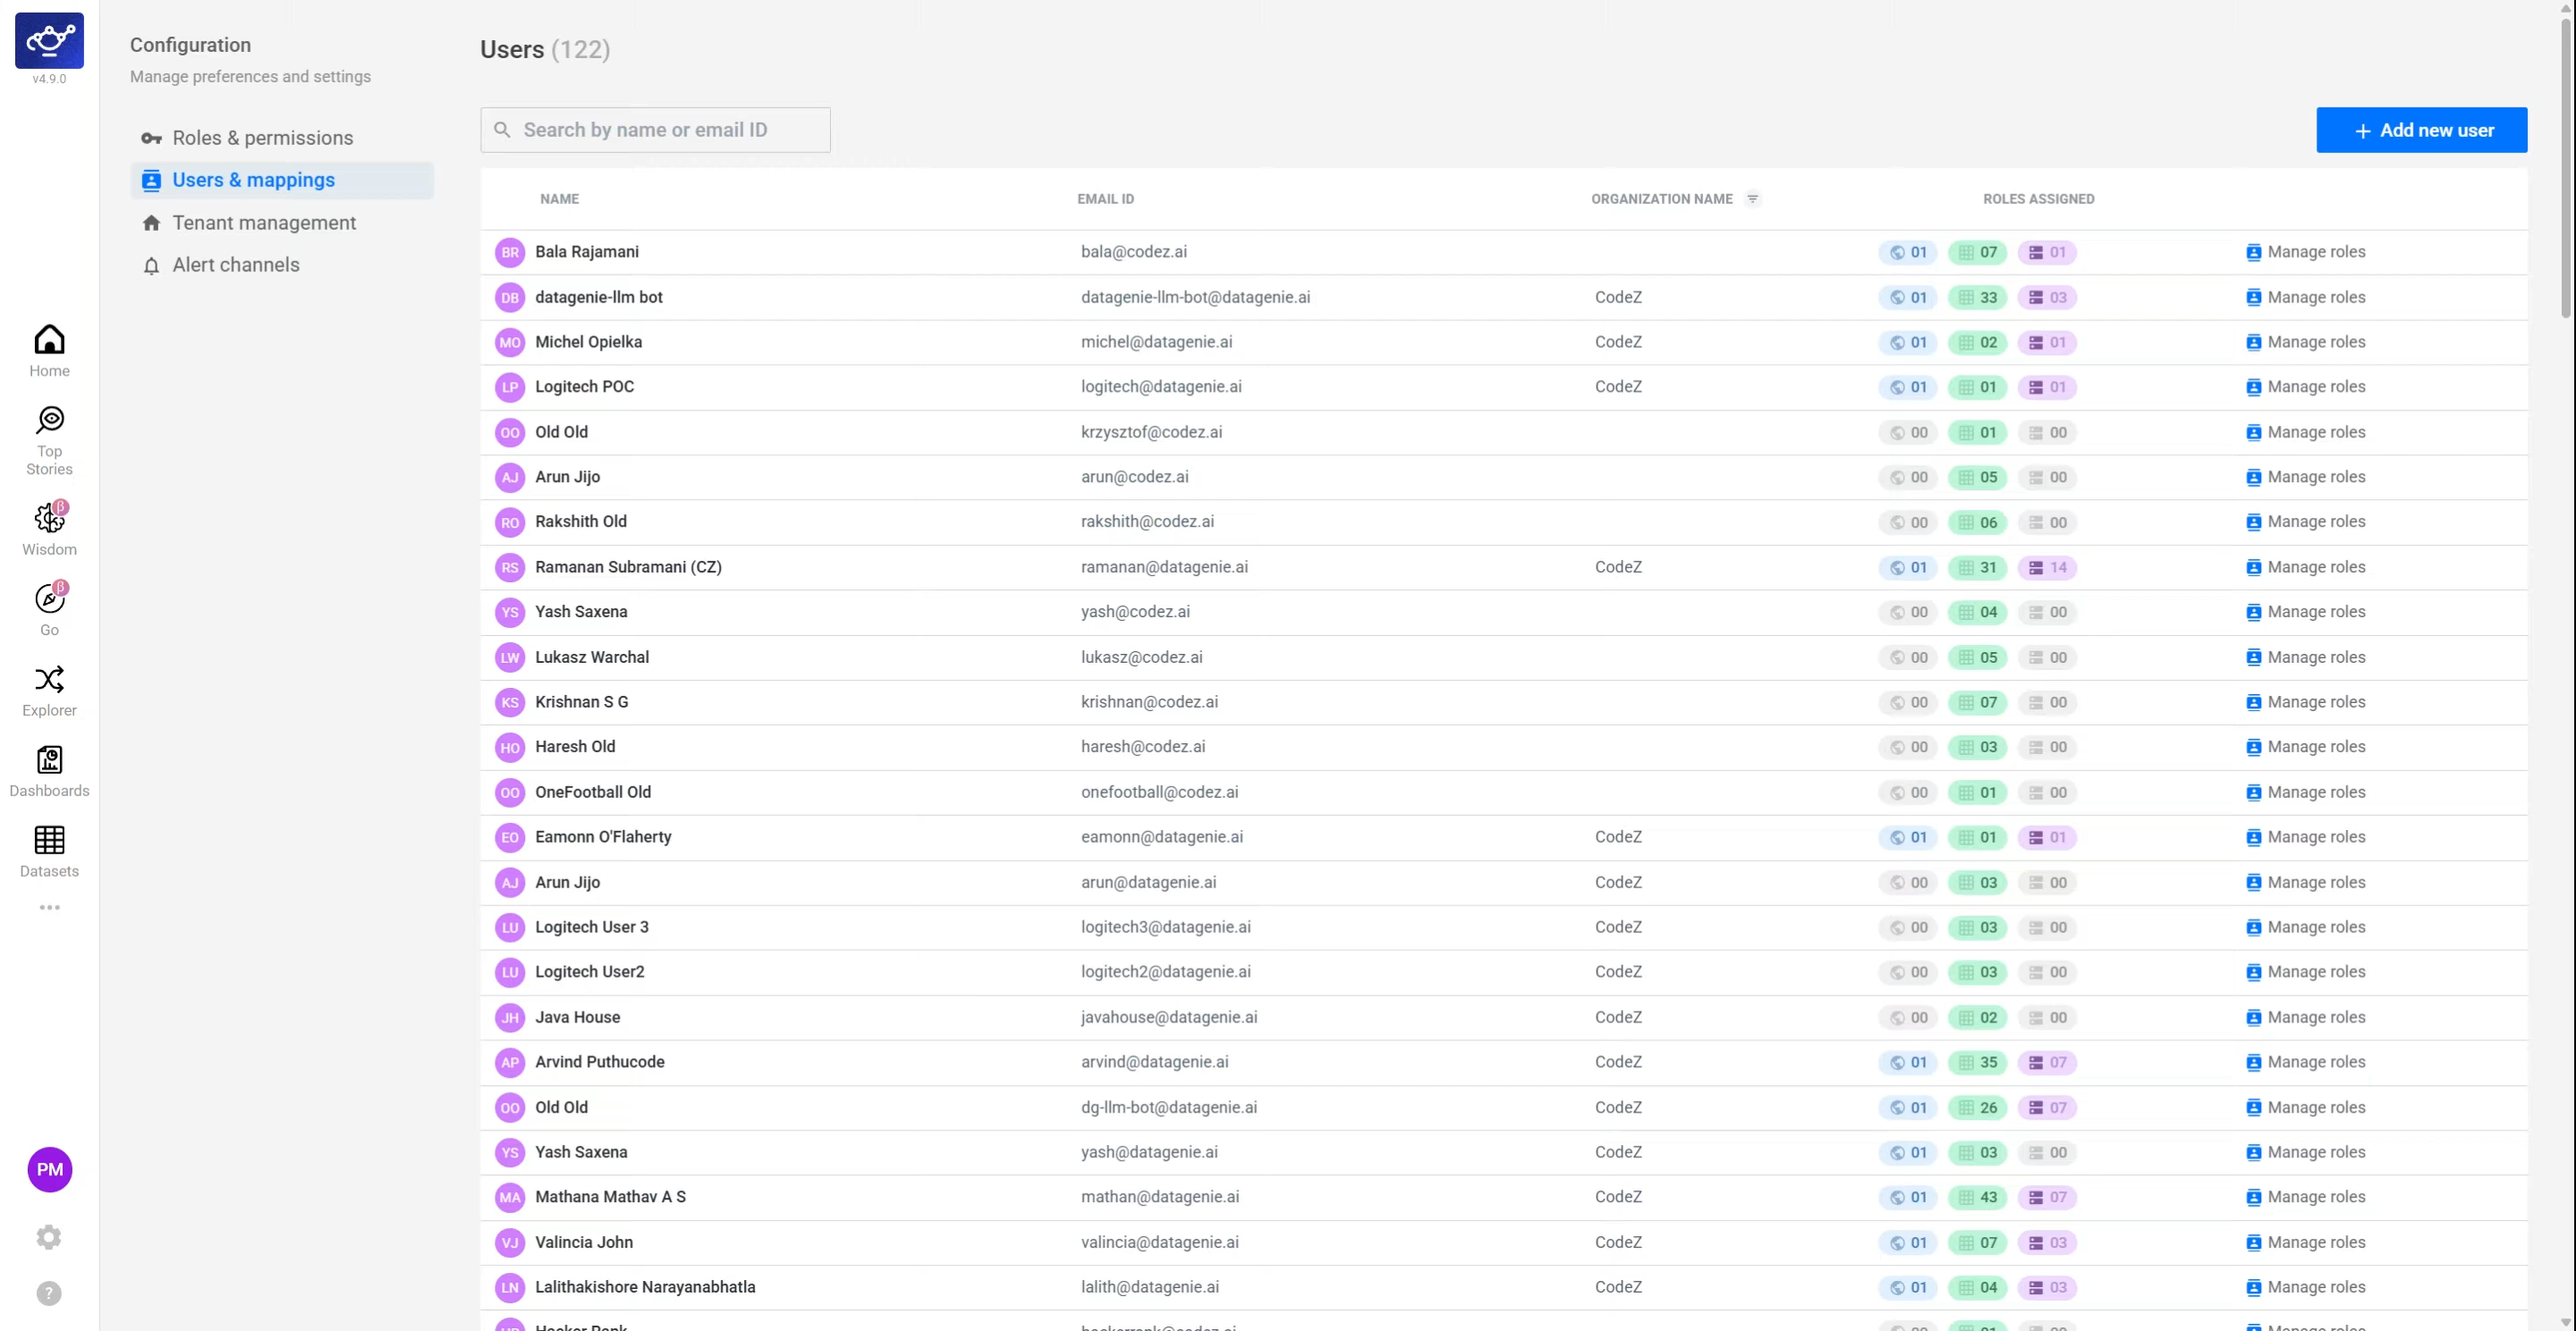
Assign dataset access and set their roles
Click Manage Roles for the user, then assign their dataset access and role — choosing the appropriate level (Reader, Editor, or Admin) for each dataset they need to work with. See Roles & Permissions for the full three-tier model.
Access tiers at a glance
Global Role
Baseline access level across the entire workspace — set first before any other tier.
Tenant-level Access
Reader or Editor access within a specific tenant.
Dataset-level Access
Reader, Editor, or Admin for specific datasets — the most granular level of control.
The “no access by default” policy on first login is intentional. It prevents unauthorized data exposure in the window between a user being created and their roles being formally assigned.
What’s next
Roles & Permissions
Configure the three-tier role model — Global, Tenant, and Dataset access.
Datasets
Configure the datasets you’ll assign users access to.